- This topic is empty.
-
AuthorPosts
-
26/06/2024 at 18:04 #84544
Blackout curtains play an important role in creating a comfortable and private living space. They not only block out excess light but also add to the decorative beauty of the room. However, installing blackout curtains is not an easy task. It requires precise measurements, the right tools, and a certain amount of skill. This article will detail how to properly install blackout curtains to ensure that your curtains are both beautiful and practical.
1: Preparation
Before installing blackout curtains, you first need to prepare the following tools and materials: an electric drill, ruler or tape measure, marker, curtain rod or track (choose the type that suits your blackout curtains), curtain rod bracket, screws, and expansion bolts, blackout curtains, and curtain rings or clamps.
2: Measurement
Accurate measurement is the key to successfully installing blackout curtains. Use a tape measure to measure the width of the window and decide on the coverage of the curtains – whether to go from one wall to the other or just cover the window itself. After recording the horizontal length, decide on the length of the blackout curtains, usually 1-2 inches from the ground is the best.
3: Choose the right curtain rod or track
Based on the measurement results, choose a curtain rod or track that is strong enough and of the right length. Blackout curtains tend to be heavier than regular curtains, so make sure the rod or track you choose can support the weight of the curtains. For heavy blackout curtains, it is recommended to use metal or solid wood curtain rods and provide enough support points.
4: Install the brackets
Determine the location of the curtain rod brackets, use an electric drill to drill holes in the marked locations on the wall, and then insert expansion bolts. Fasten the curtain rod brackets to the wall and make sure they are firmly attached to the wall. For heavier blackout curtains, it is recommended to use more than three brackets to balance the weight.

5: Hang the curtain rod
Install the curtain rod or track on the brackets, making sure the rod is level and firmly fixed. For track systems, you may need to connect the sections of the track according to the product instructions and ensure the smoothness of the track so that the curtains can open and close smoothly.
6: Hang blackout curtains
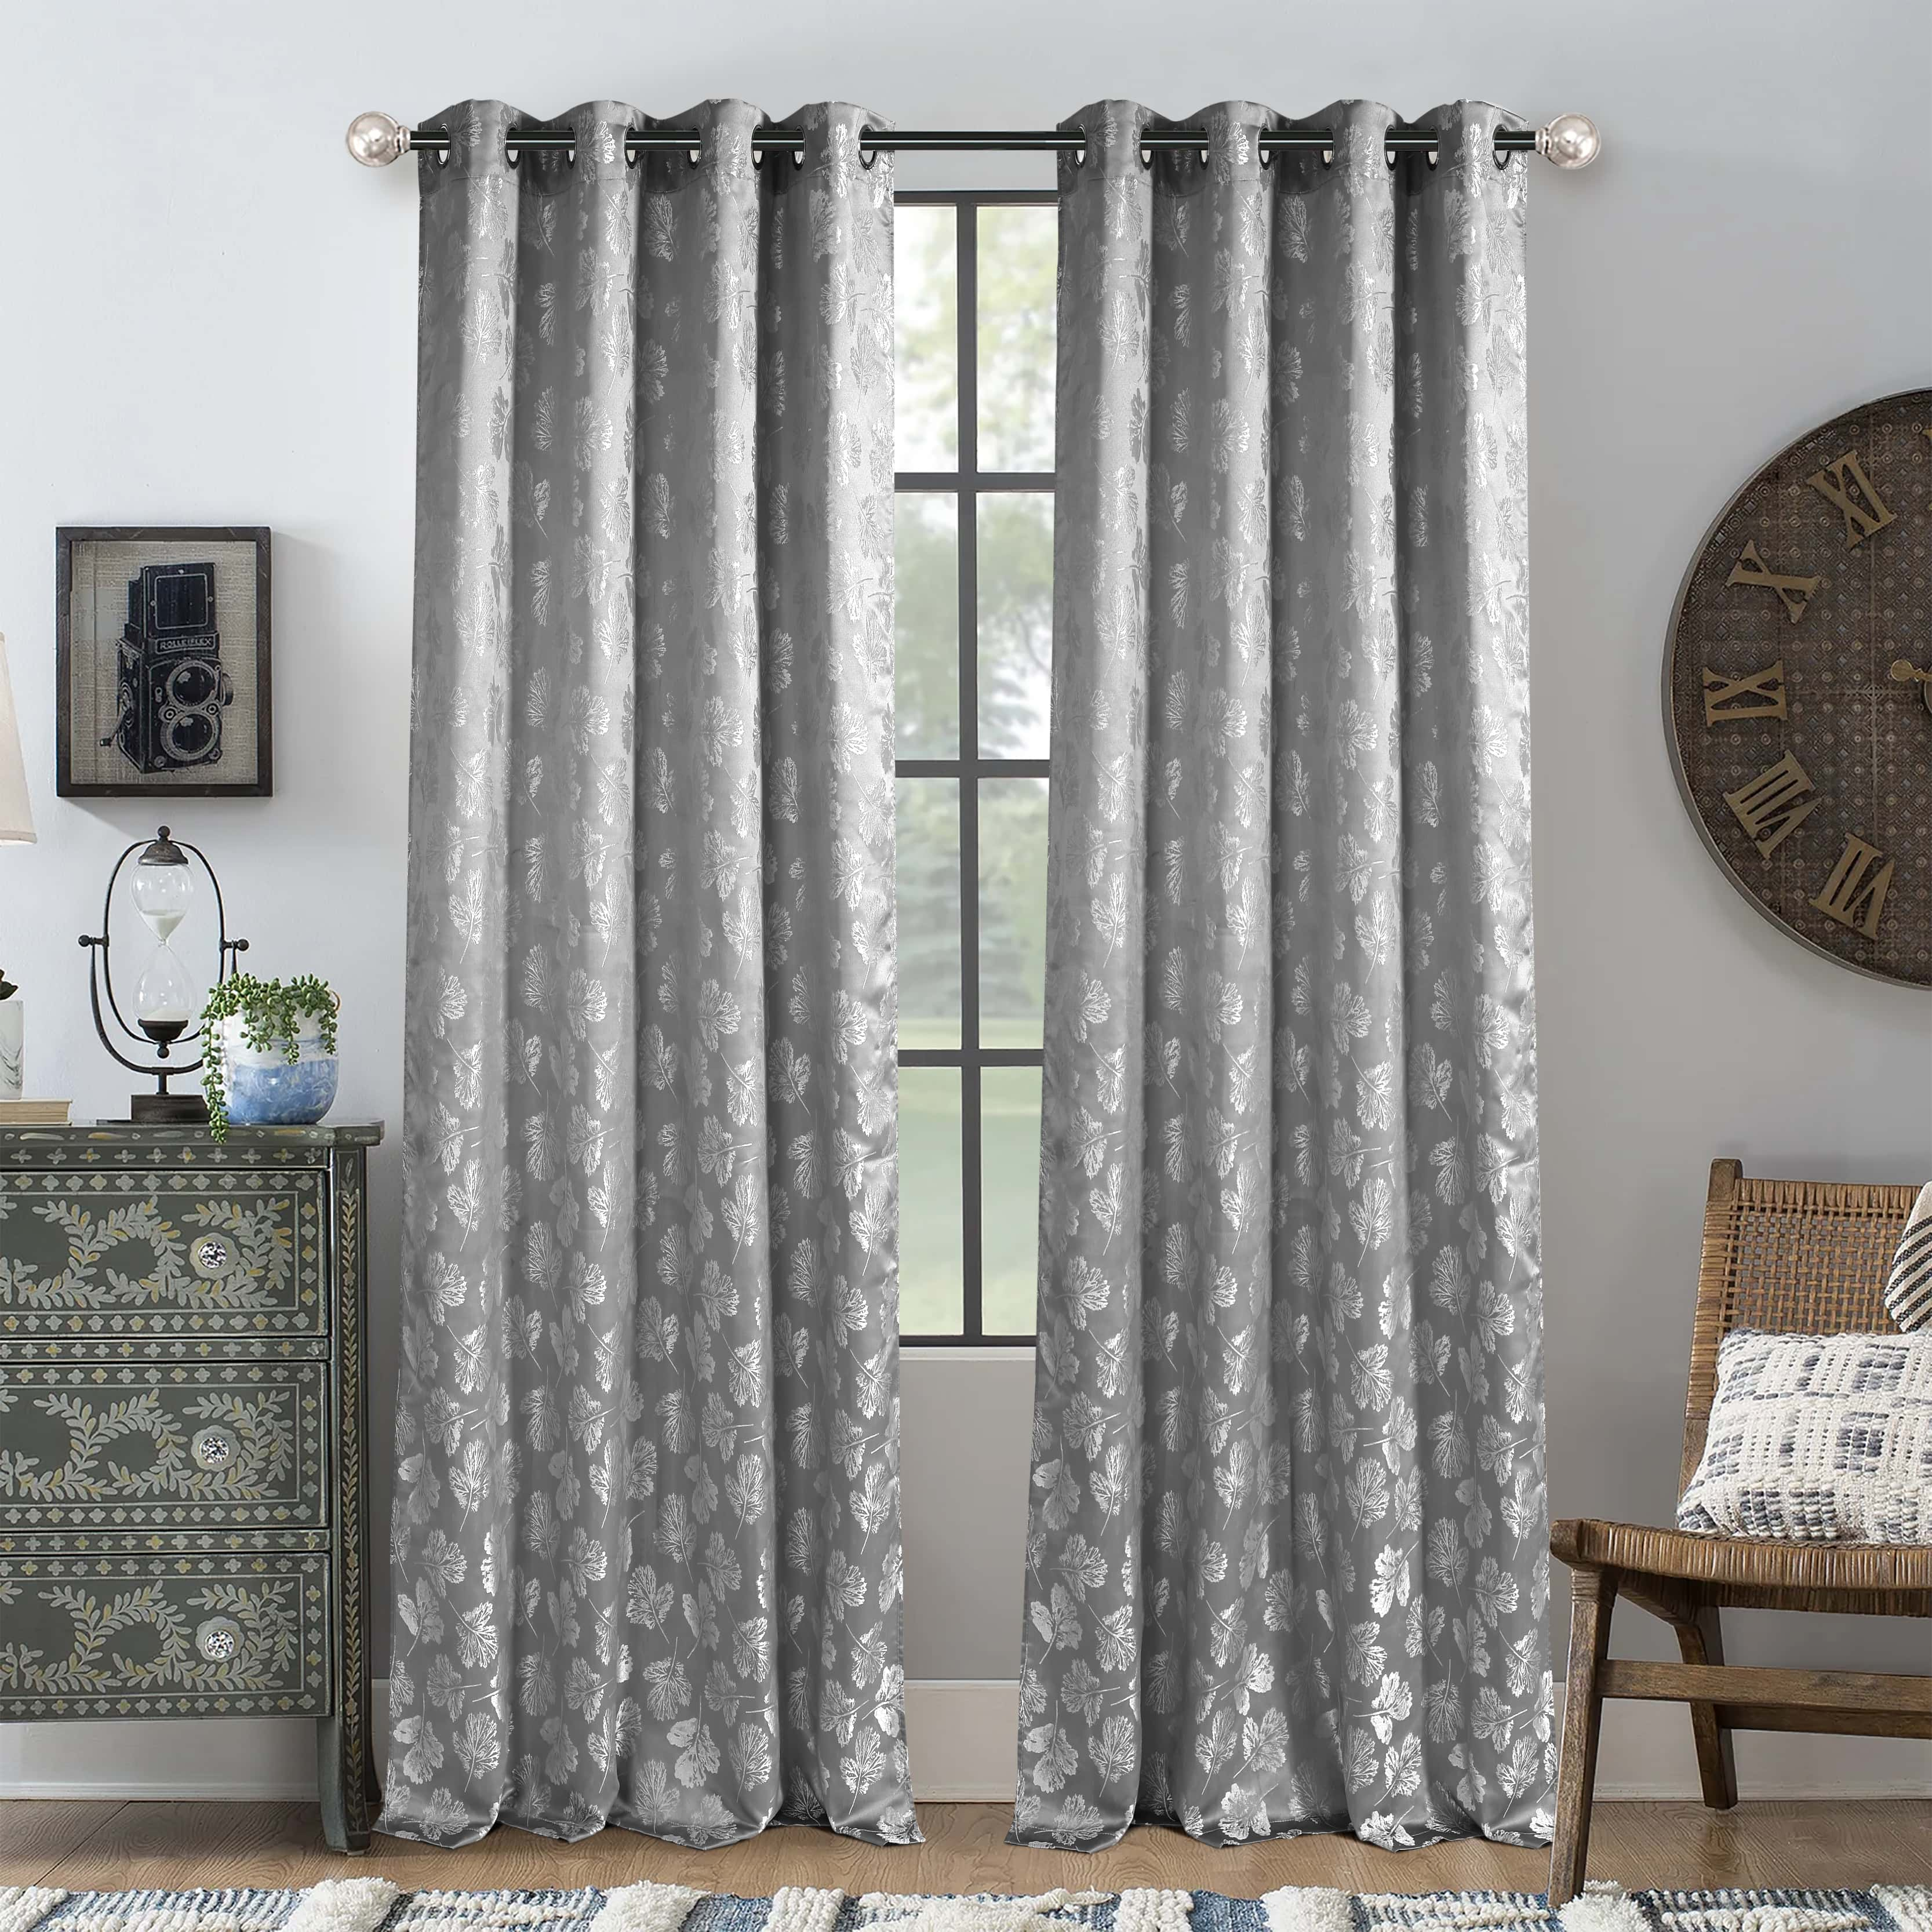
Use curtain rings or clamps on the blackout curtains. For rings, string the rings into the holes in the curtain head; for clamps, fix the clamps to the top of the curtain according to the instructions. After distributing the curtain rings or clamps, hang the blackout curtains evenly on the curtain rod or track.
7: Adjustment and finishing
After hanging the blackout curtains, adjust the curtains to evenly distribute them on the windows. If necessary, you can adjust the curtain rings or clamps to make the curtains flatter. Finally, tidy up the folds of the curtains to ensure that they present a consistent appearance.
Open and close the blackout curtains several times to ensure that they can run smoothly and there are no stuck or unbalanced places. For track systems, check whether the curtains can slide easily.
After installation, check whether each part is firm and make final adjustments. In order to keep the blackout curtains in the best condition, regular cleaning and maintenance are necessary. Most blackout curtains can be vacuumed with a low-power attachment of a vacuum cleaner, or wiped with a damp cloth.
Following the above steps, you can efficiently complete the installation of blackout curtains and enjoy the convenience and comfort they bring.
As a blackout curtain enterprise, we are committed to providing customers with the best quality products and services. Our products not only have excellent blackout effects, but also have a variety of styles and designs to meet the needs and personalized requirements of different customers.
Jessie
jessie@well-homefashion.com -
AuthorPosts
- You must be logged in to reply to this topic.